.png)
How to Prepare Walls for Painting Properly
A fresh coat of paint can change a room quickly, but a roller will not hide nail pops, greasy fingerprints, rough patches, or peeling old paint. The work you do before the first coat determines whether the finished walls look clean and even or show every flaw in afternoon light. To prepare walls for painting properly, start by treating the surface as the project, not just a step before the color goes on.
For Northwest Indiana homeowners, preparation also matters because homes deal with changing humidity, tracked-in salt and dirt, busy family spaces, and years of small repairs. A little patience at this stage protects the time and money you are putting into the finished room.
Start by Inspecting Every Wall
Walk through the room with the lights on and look at the walls from more than one angle. Natural light, lamps, and a flashlight held close to the wall can reveal dents, cracks, roller marks, and uneven sheen that are easy to miss straight on. Mark problem areas lightly with painter's tape so you can find them again after cleaning.
Look closely around windows, doors, baseboards, outlets, and corners. These areas often collect scuffs and show failed caulk or small gaps. Check for water stains, soft drywall, mildew, or bubbling paint as well. Those are not cosmetic issues to simply paint over. A stain may need to be sealed, while active moisture or mildew needs to be corrected before painting begins.
If you find peeling paint, determine why it failed. It may be from moisture, poor adhesion, an incompatible previous coating, or damage to the wall itself. Scraping loose paint and applying a new coat without addressing the cause can lead to the same problem returning.
Protect the Room Before You Prepare Walls for Painting
Move furniture out of the room when possible. If larger pieces must stay, place them in the center and cover them completely with clean plastic or a drop cloth. Remove pictures, curtain hardware, outlet covers, switch plates, and vent covers for a cleaner edge and easier access.
Use drop cloths to protect floors, especially hardwood, carpet, and tile. Canvas drop cloths are often easier to work with than thin plastic because they stay in place and absorb small drips. Plastic can still be useful over furniture or for covering cabinets and built-ins.
Turn off power at the breaker before removing electrical covers, and keep screws in a labeled bag. It is a small detail, but it prevents a simple painting project from turning into a search for mismatched hardware at the end of the day.
Clean Away What Paint Cannot Stick To
Paint needs a clean, dry surface. Dust, cooking residue, smoke film, hairspray, hand oils, and crayon marks can interfere with adhesion, even when the wall looks fairly clean.
For most interior walls, wipe the surface with a mild cleaner and warm water using a sponge or microfiber cloth. Focus on high-touch areas such as hallways, stairwells, kitchens, bathrooms, and the wall around light switches. Rinse away any cleaner residue with a separate damp cloth, then allow the walls to dry fully.
Kitchen walls often need more attention because grease can travel farther than expected. A degreasing cleaner may be needed near stoves, dining areas, and backsplashes. In bathrooms, look for soap residue and mildew. Use a cleaner made for mildew where appropriate, follow the product directions, and make sure the room is well ventilated.
Do not soak drywall. The goal is to remove surface contamination, not saturate the wall. If the drywall paper gets overly wet or begins to soften, let it dry completely before continuing.
Repair Dents, Holes, Cracks, and Gaps
Once the wall is clean and dry, fill nail holes, shallow dents, and small dings with lightweight spackle. Apply it in thin layers with a flexible putty knife. Overfilling may seem efficient, but a large mound creates more sanding and can leave a raised spot under the paint.
For larger holes or damaged drywall, use a patch designed for the size of the repair. A small dent may need only spackle, while a hole larger than a nail hole may require mesh tape, a patch, and joint compound. Build the repair in thin coats and allow each coat to dry before adding the next one.
Hairline cracks deserve a closer look. A stable, minor crack can often be repaired with joint compound and sanding. If cracks keep returning, are wide, or appear around doors and windows with sticking or shifting, it may point to movement that should be evaluated before cosmetic work is done.
Caulk gaps where trim meets the wall, especially around baseboards, door casings, and window trim. Choose paintable caulk and use a small, controlled bead. Smooth it with a damp finger or caulk tool before it skins over. Caulk creates the finished, connected look that separates crisp trim work from a wall that appears unfinished at the edges.
Sand for a Smooth, Even Surface
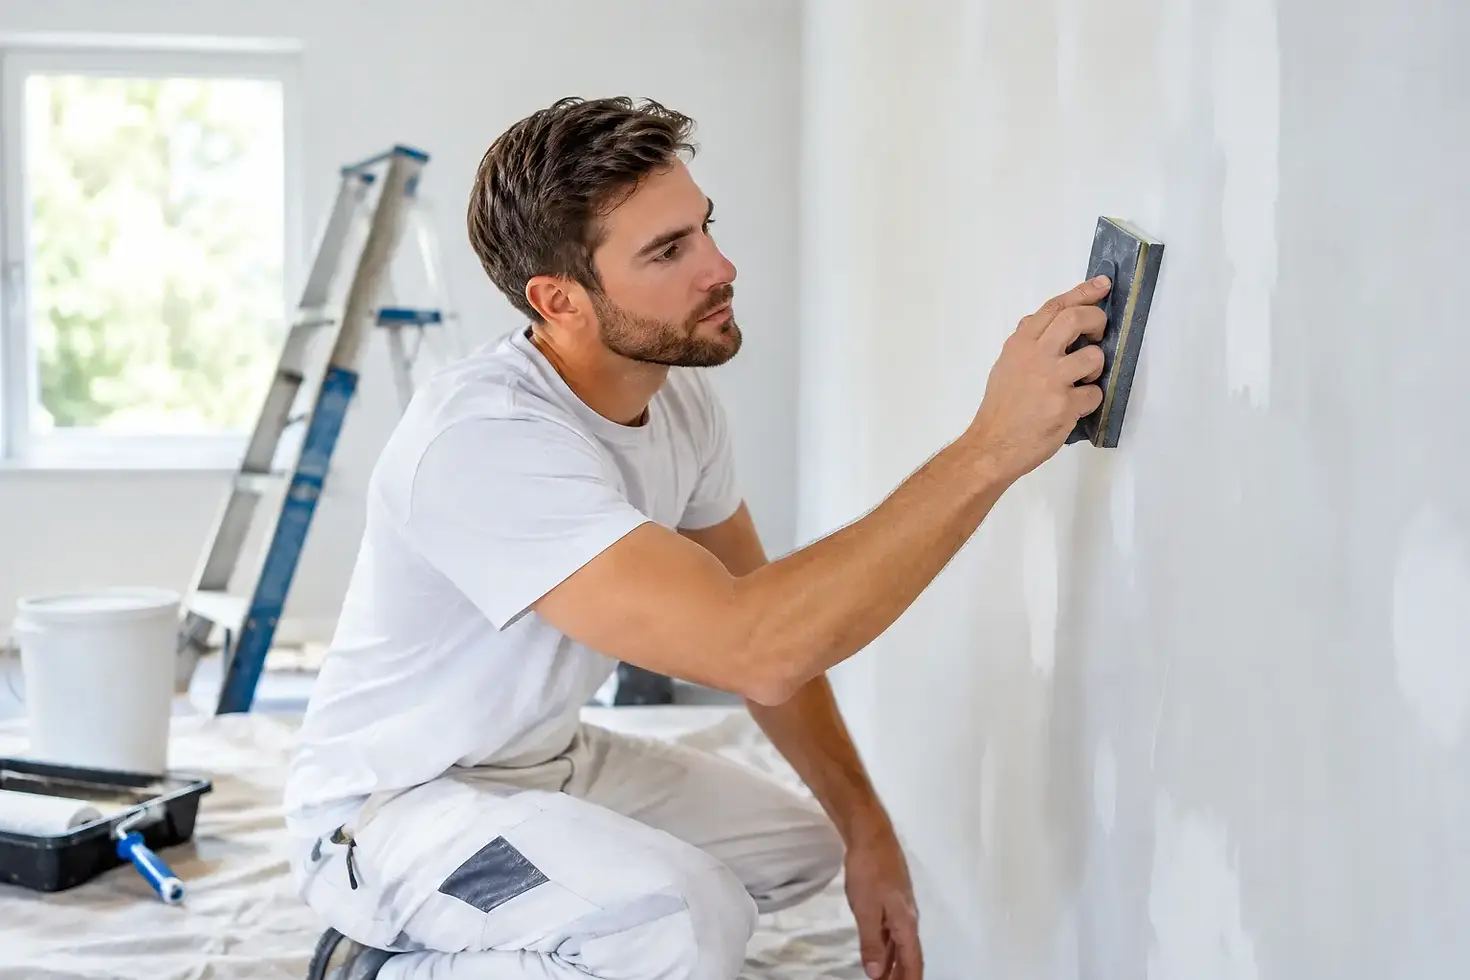
Sanding is not about grinding down the entire wall. It is about removing loose material, feathering scraped edges, and leveling repairs so they disappear under paint. Use fine-grit sandpaper or a sanding sponge for most drywall repairs and previously painted walls in good condition.
Feather the edges of old peeling areas until there is no sharp ridge between the remaining paint and the exposed surface. Sand repaired spots until they feel smooth when you run your hand over them. Your fingertips will usually find imperfections before your eyes do.
After sanding, remove all dust. Vacuum the walls and baseboards with a brush attachment, then wipe surfaces with a slightly damp microfiber cloth. Dust left behind can create a gritty finish and keep primer from bonding evenly.
If the home was built before 1978, assume old paint could contain lead until it has been tested. Do not dry scrape or sand questionable paint without proper containment and safety practices. EPA-certified painting methods are especially important when disturbing older coatings.
Prime Where It Makes a Difference
Primer is not always necessary over a sound wall that is already painted in a similar color, but it is often the right choice after repairs. Fresh joint compound, patches, bare drywall, water-stain treatment, and areas where paint was scraped need primer so they absorb paint evenly.
Use a stain-blocking primer over old water marks, smoke stains, marker bleed-through, or other discoloration that could rise through the finish coat. For drastic color changes, a tinted primer can improve coverage and reduce the number of finish coats needed.
Primer also helps when changing from a glossy surface to a lower-sheen paint. Cleaning and light sanding are still required, but a bonding primer can provide extra insurance that the new coating will adhere properly. The best approach depends on the existing paint, the condition of the wall, and the finish you plan to use.
Check the Room Conditions Before Painting
Even perfectly prepared walls need the right conditions for paint to dry and cure. Keep the room within the temperature range listed on the paint can, provide reasonable airflow, and avoid painting in a damp, closed-up space. High humidity can slow drying, while excessive heat can cause paint to dry too fast and leave lap marks.
Before opening the paint, do one final inspection. Look across the wall in side lighting, feel repaired areas, and make sure dust has not settled back onto the surface. This is the time to fix a small flaw. Once color is on the wall, repairs usually take longer because they require touch-up and blending.
When Professional Preparation Is Worth It
Many homeowners can handle basic wall preparation in a spare bedroom or simple refresh project. Professional help becomes especially valuable when the walls have extensive damage, high ceilings, water stains, textured finishes, detailed trim, or signs of older paint that need careful handling.
A professional crew also brings the tools and process to keep prep work clean and organized. That matters when your home is still in use during the project. Master Painters approaches preparation with the same care as the final coat because a beautiful paint job should hold up long after the drop cloths are gone.
Take your time before the first brushstroke. Smooth, clean, properly repaired walls give the color you choose the chance to look its best and help your finished room feel like a real improvement, not a quick cover-up.


Comments